
Boob tape: what it does, when to use it, and how to choose
Share
The short answer
Boob tape is a cut-to-length adhesive tape used to create lift, shape, or support in outfits where a standard bra does not work. It is not a coverage product first. Its main job is to hold and position the bust in a way that clothing alone cannot do.
If your outfit is backless, strapless, deeply cut, or structured in a way that makes a bra impossible, and you need more than just nipple coverage, boob tape is likely the right starting point.
If you only need to prevent nipple show-through under a fitted top or everyday outfit, adhesive nipple covers are a simpler and faster option.
The difference between the two is the difference between coverage and support. Both are valid needs. They just describe different problems, and they require different products to solve them properly.
This guide covers everything you need to make the right call: what boob tape actually does, when it is and is not the right choice, how to apply it, how to remove it, and what to buy based on your outfit.
What is boob tape and how does it work?
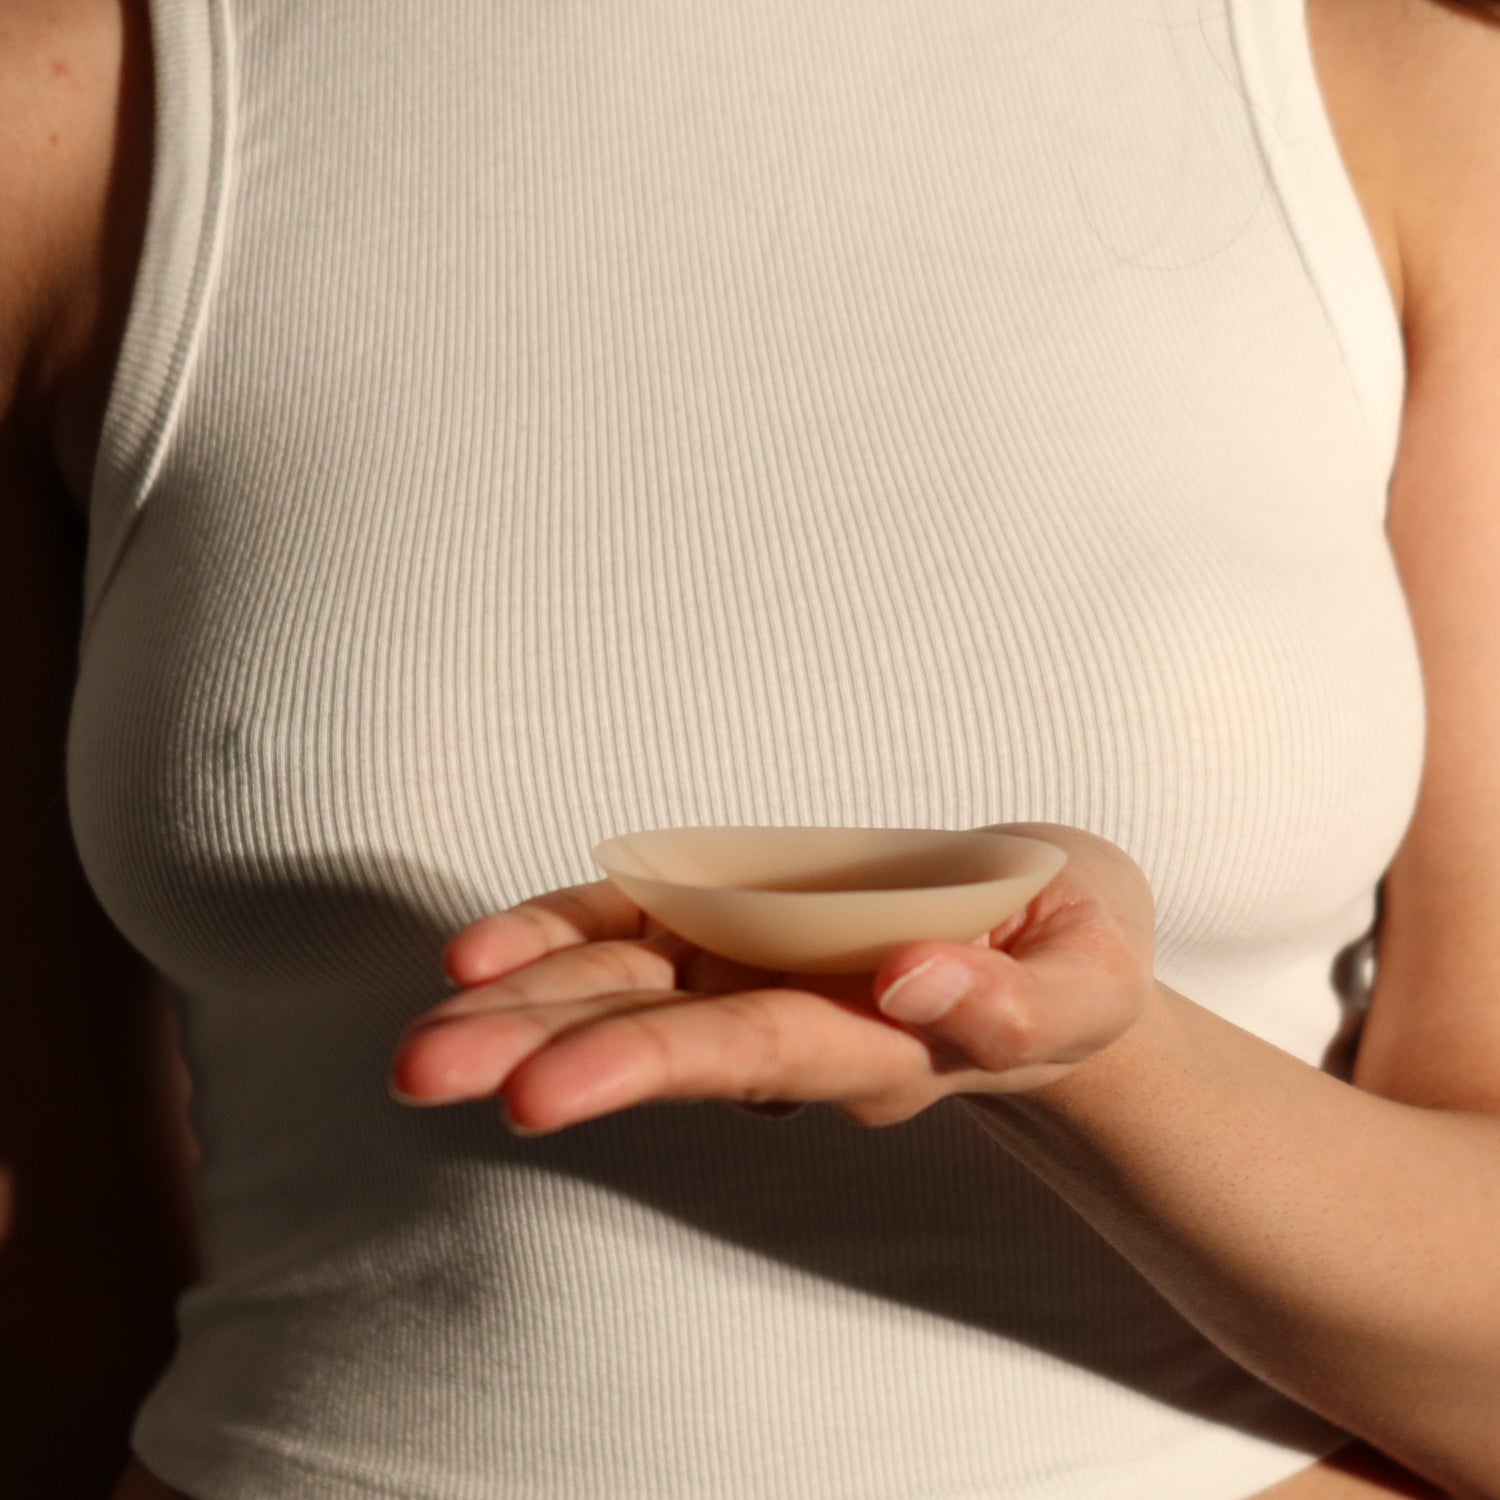
Boob tape is an adhesive tape applied directly to the skin of the bust. Unlike a bra, it has no fixed structure. You cut it to whatever length and shape your outfit requires, apply it to create the position or lift you want, and it holds the skin in place for the duration of wear.
Because it is cut-to-length and applied in strips rather than worn as a shaped garment, boob tape is flexible in a way that other support products are not. You can use it to lift, to create a rounder silhouette, to bring the bust inward, or to shape the chest to suit a specific neckline. The result depends on how you apply it.
That flexibility is what makes boob tape useful for outfits with unusual necklines, cut-outs, deep plunges, or low backs, where no bra could fit and no fixed support product could adapt.
It is also what makes boob tape a more technique-led product. Because you are building the support from scratch each time, the result depends on your application. The first time usually involves some trial and error. Most people find it more straightforward from the second use onward, especially when they already have a specific outfit in mind before they start.
Boob tape vs nipple covers: understanding the difference
This is the most common source of confusion when shopping the nip stories range, and getting the distinction wrong usually means buying a product that does not solve the actual problem.
Nipple covers are coverage-first
Nipple covers are designed to prevent nipple show-through. They sit flat against the skin and reduce visibility under clothing. They do not lift, reshape, or reposition the bust.
Adhesive nipple covers are the most versatile option and work well across a wide range of outfits, including backless, strapless, and open styles. Non-adhesive nipple covers rely on garment pressure to help hold them in place and suit snug, fitted styles more closely.
Neither type provides lift. That is not a flaw. Coverage and support are different jobs, and nipple covers are built to do the coverage job well.
Boob tape is support-first
Boob tape does something different. You apply it directly to the bust, cut to the length and shape the outfit requires, and it holds the skin in a position that creates lift, shape, or a cleaner silhouette under clothing.
A good way to think about it: nipple covers are about what you do not want visible. Boob tape is about the shape and position you want to create.
The question that makes the choice easier
Ask yourself: do I need to hide something, or do I need to hold something?
- If the answer is hide, nipple covers are the starting point. Read the adhesive vs non-adhesive guide to narrow down the type.
- If the answer is hold, shape, or lift, boob tape is the starting point.
- If the answer is both, the boob tape and nipple cover bundle is built for exactly that scenario.
When you might need both
For many outfits, especially formal or event wear, the right answer is a combination. Boob tape creates the lift and holds the position. Nipple covers sit underneath or over the tape edges for a cleaner finish. This is a common approach for weddings, strapless gowns, and any event outfit where both shape and discreet coverage matter.
The boob tape and adhesive nipple cover bundle and the boob tape and non-adhesive nipple cover bundle both bring together the two products for this combined use case.
When boob tape is the right choice
Boob tape works best when your outfit creates a support problem that nipple covers alone cannot solve. Below are the most common scenarios.
Backless outfits
A backless dress or top has no bra band to anchor anything. Standard bras are not compatible. Nipple covers can solve the coverage element, but if the outfit also needs lift, boob tape is what creates and holds that lift in place.
For many backless outfits, tape applied upward and anchored at the side creates the shape the outfit needs. Without it, the bust sits unsupported, which changes both the fit and the look of the garment.
Strapless outfits that need more than coverage
Some strapless looks are solved by nipple covers alone, especially if the garment is structured. But if the strapless outfit is less structured, or if you want more lift and projection than the garment provides on its own, tape adds the support layer that turns the outfit from uncertain to secure.
Deep plunge and low-cut necklines
Very low or plunging necklines often need placement control as much as coverage. Boob tape allows you to customise the direction and degree of lift, which can change how the neckline sits and how the outfit looks from the front. A standard nipple cover does not change bust position, but tape can.
Halter and cut-out styles
Halter tops and dresses with cut-outs often leave the sides of the chest exposed or create unusual support gaps. Tape can bridge those gaps and create hold in areas where a standard garment cannot.
Special-event and formal outfits
Weddings, formal dinners, parties, and red-carpet-style occasions are among the most common use cases for boob tape. These are outfits where getting it right matters, where the fit needs to be precise, and where you will be wearing the look for several hours. Tape rewards preparation, and the investment in getting the application right pays off across a full evening of wear.
When a bra simply does not work with the outfit
Sometimes the outfit design makes a bra incompatible regardless of style. No strapless bra will work. No adhesive bra will work. The back is too low, the sides are cut away, or the neckline prevents any standard bra from sitting correctly. This is the classic boob tape scenario: when the only option is tape or nothing, tape is how you do it with the shape and hold the outfit deserves.
When boob tape is not the right choice
Boob tape is not the default answer for every braless situation. It is worth being honest about when it is not the right fit.
- If you only need coverage and no lift. A fitted top with nipple show-through is a nipple cover problem, not a tape problem. Tape adds a layer of technique and time that is not needed when the outfit just requires coverage.
- If you want the lowest-effort product. Nipple covers are faster and simpler to apply. If you are looking for the most straightforward first purchase in the range, tape is not the right starting point.
- If you are avoiding all adhesive contact. Tape involves direct adhesive contact with the skin across a larger surface area than a nipple cover. If adhesive is a concern for you, non-adhesive nipple covers are the better alternative for coverage needs.
- If you are not willing to follow application guidance. Tape rewards patience and preparation. If you are in a hurry or are not comfortable following steps, the result may disappoint. That is not a product failure, it is a mismatch between the product and the moment.
How to apply boob tape: step by step
Boob tape is more technique-led than nipple covers. The quality of the result depends heavily on how carefully you apply it. Following these steps gives you the best chance of a hold that lasts and a finish that looks clean.
Before you start
- Have your outfit ready. You are applying tape to suit a specific garment. Know what you are wearing before you start, so you can tailor the tape placement and direction to the shape the outfit creates.
- Start with clean, dry skin. Moisture, body lotion, sunscreen, or sweat on the skin will reduce how well the tape adheres. Apply tape before any body products in the area. If you have already moisturised, wait until the skin is fully dry before applying.
- Do a patch test if needed. If you have sensitive skin or have never used adhesive tape on your body before, test a small piece on an area of skin for a short period before committing to a full application. Remove slowly and check for any reaction.
- Gather what you need. The tape, scissors for cutting, and a mirror positioned so you can see what you are doing. Applying tape blind, without a clear view of how the placement is looking, makes it much harder to get the result right.
Step 1: cut your strips
Cut the tape to the length and shape you need for your outfit. There is no single correct cut for every situation. The right length and direction depend on what you are trying to achieve.
- For upward lift, longer strips that run from beneath the bust up toward the side or over the shoulder give more pulling range.
- For lateral or inward shaping, shorter strips placed along the outer side of the bust and directed toward the centre work better.
- For full coverage and support, multiple strips working together, rather than a single long strip, give you more control and a more even result.
Round the corners of each strip slightly as you cut. Sharp corners lift more easily at the edges during wear.
Step 2: position before committing
Before you press the tape firmly, hold it against the skin and check the position. Once adhesive tape is firmly pressed down, adjusting it becomes much harder and increases the risk of irritation when you eventually remove it.
Think about where you want the bust to sit when the outfit is on, not just where it sits now. Dress the side of the bust or cup the area into the position you want to create, then apply the tape to hold it there.
Step 3: apply firmly and smoothly
Once you are satisfied with the position, press the tape down firmly from one end to the other. Smooth it as you go, working along the length of the strip to remove air pockets and ensure full contact with the skin.
Do not stretch the tape as you apply it. Applying tape under tension can cause it to pull on the skin during wear, which is uncomfortable. Lay it flat against the skin without stretching.
Step 4: add more strips as needed
One strip rarely does the full job. Add further strips to build out the support shape you need. Overlap slightly where strips meet for a more continuous hold. Work systematically from one side to the other rather than applying strips randomly.
Step 5: check the result in the outfit
Put the garment on and check the result. Are you getting the lift and placement you wanted? Is the tape sitting cleanly under the garment without any edges peeking through necklines or cutouts? Make adjustments now rather than after you leave the house.
If placement is not quite right but you have not pressed the tape fully down yet, you may still be able to adjust. If it has been pressed firmly, it is better to leave it and note what to do differently next time than to attempt removal and reapplication during a rushed dressing session.
How to remove boob tape
Removal is the step people are most uncertain about, and it is the step where technique matters most. The good news: slow, careful removal is usually much more comfortable than people expect.
- Remove slowly. Do not pull the tape away from the skin in a sharp, fast motion. Peel it back gradually, keeping the tape close to the skin surface as you work along the strip.
- Use oil or micellar water to help. If the tape feels very secure or the skin underneath feels sensitive, apply a small amount of body oil or micellar water along the tape edge. Let it sit for a moment to begin loosening the adhesive, then resume slow removal.
- Peel in the direction of hair growth where possible. On areas where there is fine body hair, peeling in the direction hair grows reduces friction and discomfort.
- Do not rush. Tape that has been worn for several hours through an event or warm evening will have adhered well. Giving yourself proper time to remove it carefully, rather than trying to do it quickly at the end of a night, makes a significant difference to the experience.
- After removal, care for the skin. Apply a gentle moisturiser or soothing body lotion to any areas where the tape was applied. This helps restore skin comfort after extended adhesive contact.
Common mistakes with boob tape
Applying tape to unprepared skin
Applying boob tape over moisturiser, body oil, or sunscreen is one of the most common reasons tape underperforms. The adhesive cannot bond properly to skin that has a product barrier on it. Clean, dry skin makes a significant difference to both the initial hold and how long that hold lasts.
Not knowing the outfit before you start
Boob tape applied without a clear outfit in mind is being applied in the wrong direction for the wrong purpose. Know what you are wearing. Know where the neckline sits. Know what shape you are trying to create. That knowledge determines every decision you make about where to place each strip.
Using one strip when you need several
A single long strip running in one direction rarely creates the full support shape most outfits need. Multiple strips working together, from slightly different angles and anchoring points, produce a stronger and more even result. Do not try to solve the whole problem with one piece of tape.
Stretching the tape on application
Tape applied under tension pulls on the skin. That tension can build to become uncomfortable during wear, especially if you are wearing the outfit for several hours. Lay the tape flat against the skin without stretching it.
Removing tape too quickly
This is the mistake that gives tape its reputation for being uncomfortable. Fast removal is far more likely to cause discomfort and skin redness than slow, careful removal. Take your time. The tape will come away cleanly if you let it.
Best outfits for boob tape
| Outfit | Why boob tape helps | Notes |
|---|---|---|
| Backless dress or top | Creates lift and hold where no bra can sit | Pair with nipple covers for full coverage and finish |
| Strapless gown or dress | Supports and positions the bust across the full chest | More reliable than a strapless bra for unsupported garments |
| Deep V or plunge neckline | Lets you customise placement to suit the angle of the cut | Can draw the bust inward for a cleaner centred look |
| Low-cut halter or halter neck | Shapes and positions within a narrow neckline | May need careful tape placement near the neck anchor point |
| Cut-out dress or bodysuit | Fills in the support gap where the garment is exposed | Place tape to cover only the areas not visible through the cut-out |
| Structured event or formal wear | Holds shape precisely throughout a full evening | Worth taking extra time on application for longer occasions |
| Braless under a blazer or jumpsuit | Controls placement without any visible undergarment | Lower-stakes application than open outfits — a good starting point for first-timers |
| Wedding dress | Creates bridal lift and support when no bra is compatible with the design | Pair with the backless and low cut lift kit for a complete solution |
Boob tape and nipple covers together
For many outfits, the best result comes from using both products together rather than choosing one over the other. Here is how they work as a combination.
Apply nipple covers first
If you are using both, start with nipple covers. Apply them to clean, dry skin and smooth them down before you do anything else. This gives you a covered base to work from, and it means the tape is going over or alongside the nipple covers rather than on top of the nipple area directly.
Then apply boob tape for lift
With the nipple covers in place, apply boob tape in the strips and directions needed to create your lift and shape. The tape can sit over the edge of a nipple cover where needed. The nipple cover is still doing its coverage job underneath.
When this combination works best
- Backless dresses where you need both coverage and lift
- Strapless gowns where even slight movement during the night could shift a nipple cover without the added security of tape
- Low-cut outfits where both placement and coverage matter
- Any outfit where you want the security of tape and the finished look of a covered nipple area
The boob tape and adhesive nipple cover bundle is the easiest way to get both in one purchase. If you prefer a non-adhesive nipple cover for the coverage layer, the boob tape and non-adhesive nipple cover bundle is also available.
What to buy
Boob tape only
If you already have nipple covers or you are confident your outfit only needs lift and support, shop boob tape directly from the nip stories range.
Boob tape with nipple covers
If you want lift and coverage in one purchase, the boob tape and adhesive nipple cover bundle covers both. It is the most practical starting point for backless, strapless, or low-cut outfits where you want the full solution in one order.
For backless and low-cut outfits specifically
The backless and low cut lift kit brings together the products most relevant to open-back and low-cut styling challenges.
Browse the full boob tape range
See all boob tape options in the boob tape collection.
Not sure whether you need tape or nipple covers?
If you are not yet certain whether your outfit needs coverage, lift, or both, browse the full nipple covers range alongside the tape options, or read the adhesive vs non-adhesive guide to understand the coverage side of the range first.
Frequently asked questions
What is boob tape used for?
Boob tape is used to create lift, support, and shape in outfits where a standard bra is not compatible. It is most commonly used for backless, strapless, and low-cut outfits where the garment design prevents any standard bra from working, and where coverage alone is not enough to solve the styling problem.
Is boob tape the same as nipple covers?
No. Nipple covers are coverage-first. They prevent nipple show-through and sit flat against the skin without changing the position or shape of the bust. Boob tape is support-first. It lifts and holds the bust in a specific position. They solve different problems and can be used together when an outfit needs both.
How do you apply boob tape correctly?
Start with clean, dry skin and a clear idea of the outfit you are wearing. Cut strips to the length and shape needed. Position each strip before pressing it firmly down. Apply multiple strips to build the support shape rather than relying on one. Check the result in the outfit before finishing. Remove slowly and carefully after wear.
Does boob tape work for larger busts?
Boob tape can be used across different body types, but the technique matters more with larger busts. More strips, more precise anchor points, and a slightly more structured approach to application usually give a stronger and more even result. The principle is the same, but the planning and the number of strips required will differ.
How do you remove boob tape without discomfort?
Remove slowly, peeling the tape back gradually and keeping it close to the skin surface as you work along each strip. Do not pull in a sharp motion away from the body. A small amount of body oil or micellar water applied along the tape edge helps loosen the adhesive if needed. Give yourself proper time rather than rushing the removal.
Can I reuse boob tape?
Boob tape is designed for single-use application. Once removed, the adhesive will not reattach reliably. For best results, use a fresh piece of tape each time.
Do I need tape or nipple covers?
Ask whether you need coverage, lift, or both. If coverage only, start with nipple covers. If lift or support, start with boob tape. If both, the boob tape and nipple cover bundle is the most practical starting point.
Can I use boob tape and nipple covers at the same time?
Yes, and for many outfits it is the better approach. Apply nipple covers first for coverage and a clean finish, then use boob tape over or alongside them for lift and hold. This combination is common for backless dresses, strapless gowns, and formal event outfits.


